
The Splash Process
Step One
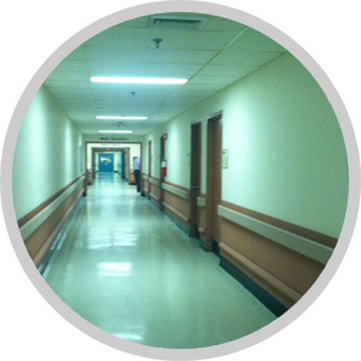
Site Visit
The Splash Team measures and assesses the designated areas to be “splashed”, determining if the space lends itself to painting directly on the wall or in our art studio on removable panels.
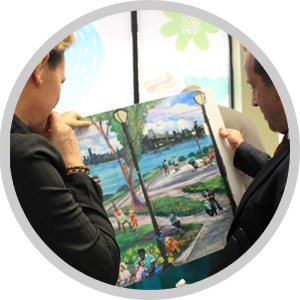
Artists collaborate with people at the site to discuss how to best serve the unique needs of each facility’s clients, residents or patients.
Suggestions for theme, style, color scheme, and special elements for clients’ therapeutic distraction are determined by collaboration with professional artists.
Step Two
Proposal
A cost estimate is generated by the Splashes of Hope office with information collected during the site visit, as well as the cost of the murals. The proposal can include holding an event: Painting for a Purpose and/or Friend on the Mend Activity.
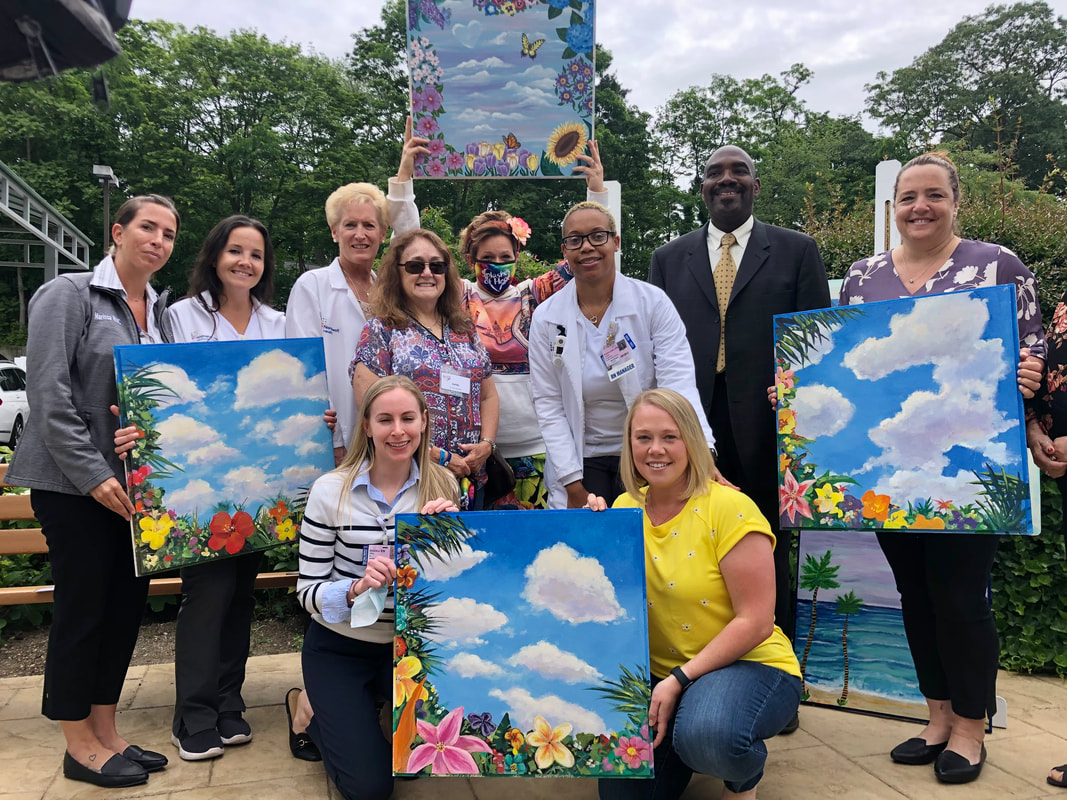
Painting for a Purpose
Click on link above to learn about an interactive mural painting event where event attendees can participate in the creative process alongside our artists.
Celebration of Life
Click on link above to learn about dedicating bespoke mural work to an anniversary, coming of age, or in memoriam.
Friend on the Mend
Click on link above to learn about decorating coloring book bags and donating the gift sets to children in healthcare centers.
Step Three
Invoice
A 50% deposit is required to begin the creative process. If a facility does not have sufficient funds allocated for the murals, the project will be added to our
Waiting List: There are over 100 facilities on the list - the Splash Team does its best to match sponsors with projects.
Step Four
Layout Design
The layouts are custom designed to fit each facility’s specifications based on the site visit information.
Step Five
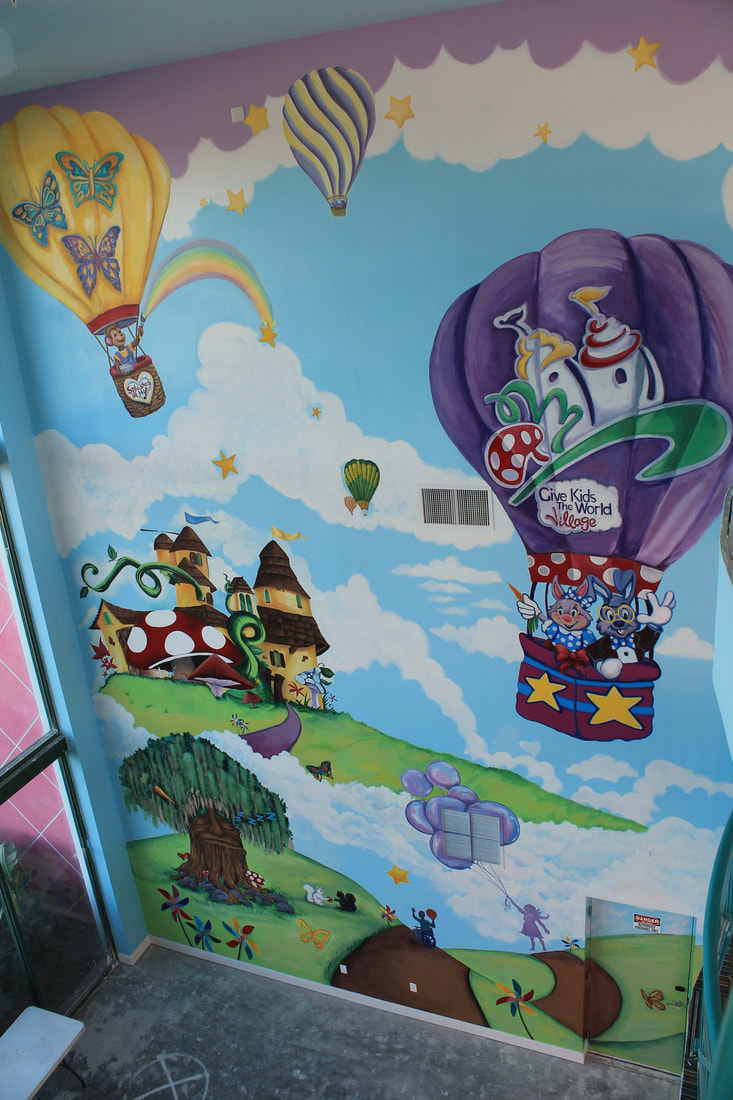
Splashing Begins!
Scheduling on-site mural work with sensitivity to the hours of operation. Upon completion, protective varnish is applied, increasing mural durability and enabling the murals to be washable with non abrasive cleaning products.

Step Six
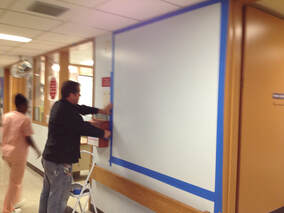
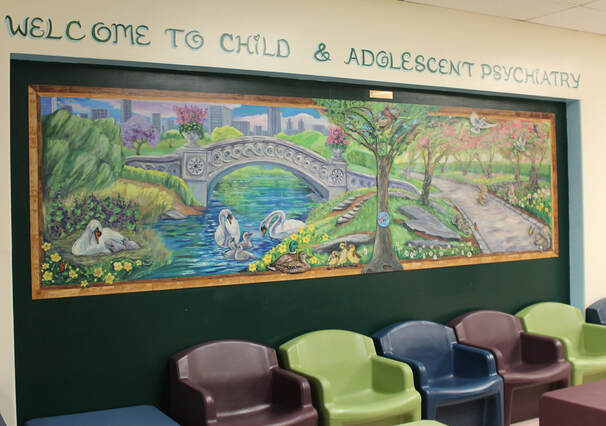
Mural Installation
The Splash Team will deliver the panels to the hospital or facility. The final product looks as though it is painted directly on the wall: seams and edges are camouflaged with shapes and the screws adhering the panel to the wall are touched up with paint by Splashes of Hope artists. Installations typically last up to two hours. Upon completion, protective varnish is applied, increasing mural durability and enabling the murals to be washable with non abrasive cleaning products. We request that a member of the facilities/engineering department be present to oversee the installation.
There are a few options for installation:
Our team can conduct the entire mural installation from start to finish.
We can drop off the murals to be installed by facilities or engineering department.
Step Seven
Dedication
Upon completion of the project, Splashes of Hope coordinates a dedication ceremony and photo opportunity to reveal the new splash.

SPECS: Splashes of Hope murals are painted on: Masonite panels: (4'x8') are non-flammable, primed and varnished with protective sealants before installation with drywall screws. Ceiling tiles: sizes 2’x2’ and 2’x4’) installed above a procedure room bed and varnished on both sides for extra protection.
SPECS: Splashes of Hope murals are painted on: Masonite panels: (4'x8') are non-flammable, primed and varnished with protective sealants before installation with drywall screws. Ceiling tiles: sizes 2’x2’ and 2’x4’) installed above a procedure room bed and varnished on both sides for extra protection.
We create environments that inspire optimism and lasting positive impact.
Brightening the lives of hospitalized children, veterans and medical staff from Clinical to COLORFUL
© Copyright 2026 Splashes of Hope. All rights reserved.